
So, your shelter or rescue has decided to create a how-to video about TNR. That’s awesome! TNR is a great humane way of helping to reduce the population of community cats and improve their quality of life. However, with only a limited number of people actually taking part in TNR programs, we understand that it can be quite difficult for organizations like you guys to continue your efforts—that’s why we’re here to help.
In 5 easy steps, we’re going to show you how to capture and create a compelling TNR how-to video that you can post on various social media platforms to educate and entice more animal lovers to get involved in TNR. With that said, let’s jump right in!
Step # 1: Create an intro
Intros may be optional, but having one will make your video look a lot more professional and put together. It’s also an effective way of introducing your shelter or rescue to the viewer and getting the name of your organization out there.
Aside from preparing the person watching for the content ahead, it also gives you the opportunity to tell the story, as well as the goals, of your shelter or rescue.
When creating your intro, you’ll want to compress important details about your organization into a short, engaging clip. Remember to always film in landscape, not portrait, especially if you’re using a smartphone.

Play around with the different video effects, transitions, backgrounds, and text styles on your chosen editing software to get a feel for how you want your intro to look. Once you’ve done that, you can incorporate your shelter or rescue’s logo, or even some fun animal photos or video clips for that cute factor!
The best length for intros fall between the 3 to 7-second mark, but depending on the content of the video or how much information you want to put on there, it can be as long as 20 seconds. Shorter intros, however, are more effective in holding your viewers’ attention and are less likely to get them to skip parts of it or click out from the video completely.
Step # 2: Lay down the plan
When you already have an idea of how you want your intro to look, you can move on to capturing footage. The first thing you need to do is to choose someone from your shelter or rescue to explain the process of TNR on camera in as much detail as possible. Before you start filming, come up with a comprehensive script to make sure that you tackle everything in your video and that all ideas and information flow in a way that’s easy to understand.

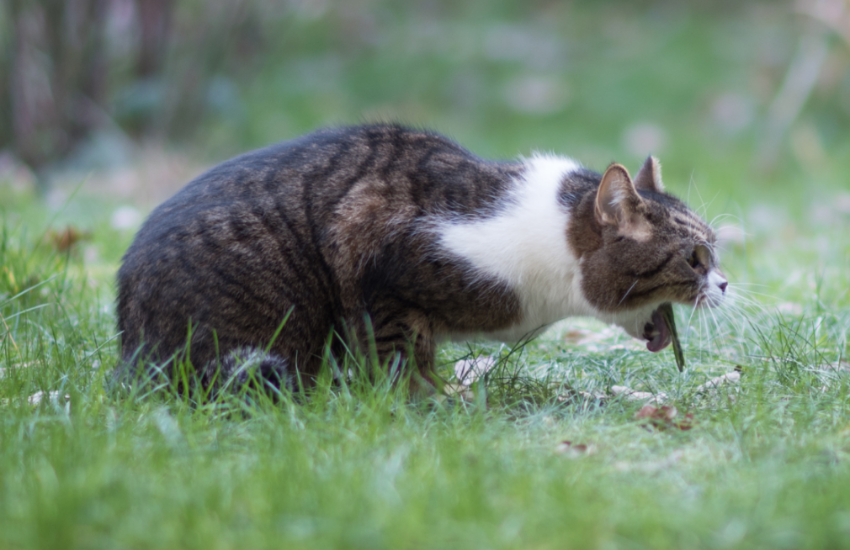
In this part of the video, guide the viewer through all the nitty-gritty of TNR, like where to borrow/rent/buy humane traps, what kind of veterinary clinic to go to, how to establish a feeding schedule for the cats, how to prepare a holding/recovery room, what kind of food to use as bait, where to place the traps, etc.
As you explain each process, you can cut to a photo or a video clip showing exactly what you’re talking about. Doing so will not only help the viewer understand what you mean but also keep them engaged.
Step # 3: Talk about the necessary safety precautions
After going through the process of TNR, have someone in your shelter or rescue (or it can be the same person who talked about the TNR process) talk about the necessary safety precautions when doing the program. In this part of the video, give the viewer instructions, tips, or advice on how to properly and safely trap, neuter, and release community cats.
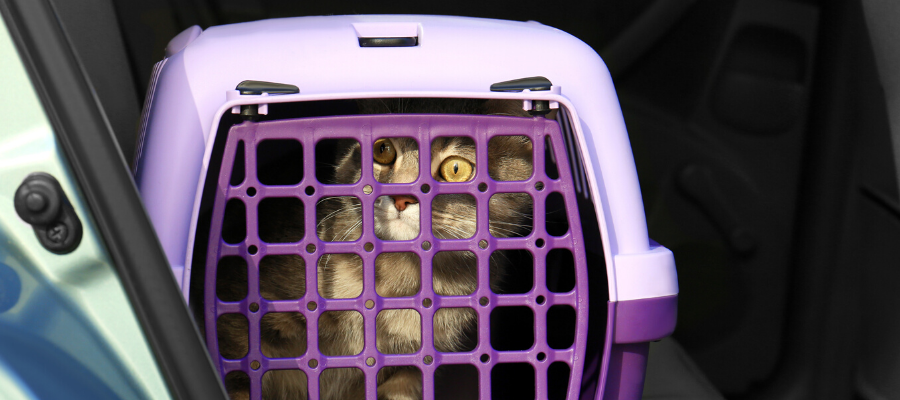
You can talk about things like, making sure to bring a large towel to cover the trap, refraining from putting their finger inside the trap, checking for eartips, using animal handling gloves when dealing with feral kittens, etc.—everything that will help the viewer carry out a successful, scratch and bite-free, feline-safe TNR project.
Step # 4: Film the entire TNR process
In addition to capturing footage of your shelter or rescue representative explaining the process of TNR, you’ll need photos or video clips visually showing every step as well. For uniformity—and to make sure you don’t forget anything—use the script you made as a guide.
When filming indoors, choose a room with sufficient lighting. Try filming near a window, a glass door, a skylight, or any area where there’s ample amount of natural light. If you have lighting equipment, then you can simply set up anywhere you deem fit.
Position yourself in front of the light, with the camera facing towards you. Don’t forget to pay attention to your background. Make sure that there are no distracting objects, photos, or posters behind you. Using a portable wall backdrop works, too.
When filming outdoors, it’s best to capture footage 1 to 3 hours after sunrise or before sunset (7-10 am or 4-7 pm). During these times, the lighting is a lot more flattering compared to when the sun is directly beaming downward, like at high noon. If you film with the light source above the subject, you’ll end up with flat, low-quality footage, so try to record as many videos as you can while the sun is angled just right.
Step # 5: Start editing
Once you have all the footage, you can start putting everything together to create your compelling TNR how-to video! Start by transferring all of your files onto your computer or laptop. To keep things organized, you can put everything in a labeled folder. Don’t forget to go through all of your footage to make sure there aren’t any lost or accidentally deleted files. If you notice that some of your clips are missing, you may need to re-film them.

Import
When all your videos are checked, organized, and ready to go, you can begin importing them onto your chosen editing software. Position everything according to the sequence that you want.
For example, drag and drop the video clips you need to create the intro, then move on to footage explaining the TNR process, and so on. Then, polish your video clips by cutting out all of the mistakes, bloopers, distracting noises, and unnecessary footage. Once you’ve done that, you can do a little preview to see if each video clip is positioned correctly.
Choose the right music
Next, depending on the feeling you want to evoke from your viewers or the tone of your video, figure out the type of music you want to use. You can include as many as you want, but make sure it works with the context of your video.
For example, you can have fun, lively music playing in the intro (to capture the viewer’s attention), mellow or relaxing music during the explanation of the TNR process (to maintain the viewer’s focus), and dramatic music over the footage showing your staff or volunteers releasing the cats back into the neighborhood.
Add the finishing touches
After deciding on the songs or music you want to add to your video, import them to your editing software. Align each one to their designation video clip and trim them accordingly.
Tie everything together by adding transitions, effects, and texts. Before hitting save, make sure to do one last preview to see if your video is comprehensible and playing smoothly. If it is, then you’re now ready to share your compelling TNR how-to video on all your social media platforms and reach more people!