Running a shelter or rescue is no easy feat. Every day you’re bombarded with emails, meetings, and all sorts of events that make it almost impossible for you to keep up.
You set up alarms and reminders for everything; you fill your workspace with post-it notes and seemingly neverending to-do lists. That could all take up so much of your time.
Wouldn’t it be great to have a tool that allows other people to simply book an appointment with you then automatically plots these appointments on your calendar?
Well, that’s exactly what Calendly is for!
Through calendar integration, Calendly makes it so easy to make sure no appointments get scheduled within the same day or during your unavailable hours.
But, that’s only one of Calendly’s many brilliant features. We talk more about them below!
Our Favorite Calendly Features
There’s a lot to love about Calendly. Once you start using it, you’ll never go back! Here are some of the features that impressed us the most:
Connect multiple calendar apps
You can integrate Calendly with other calendars, including your Google, Outlook, Office 365, and iCloud calendar, to prevent yourself from getting double-booked.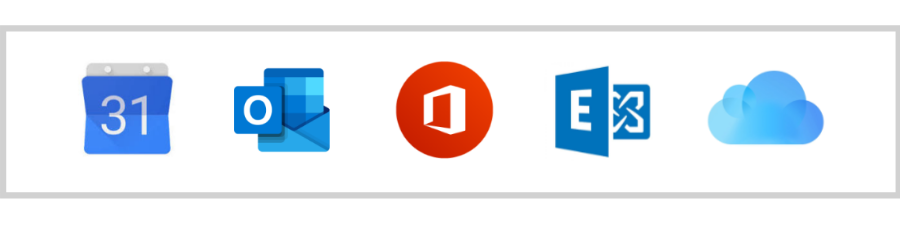
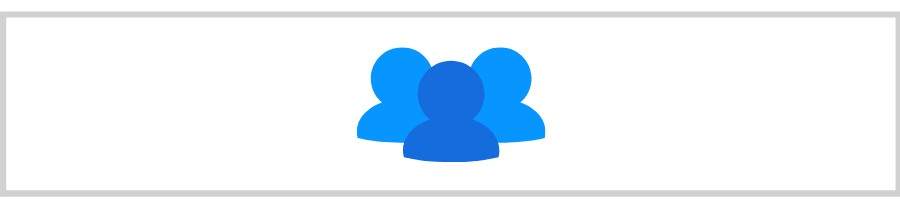
Collective meetings
Calendly doesn’t only work for one-on-one meetings. Invitees can also schedule a meeting with multiple people at once.
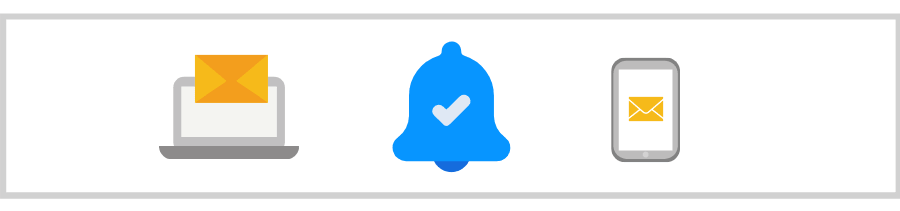
Notifications
To help minimize the likelihood of having to deal with no-shows, you can set up Calendly to send out confirmation and reminders via email or texts.
Automatic timezone detection
Whether your invitee lives in the US, Australia, or Japan, Calendly automatically converts your available times to reflect their own timezones so that everyone stays on the same page.
Integration with various video meeting tools
If your organization is using Zoom, GoToMeeting, or Join.Me, you can easily integrate these tools with your Calendly account.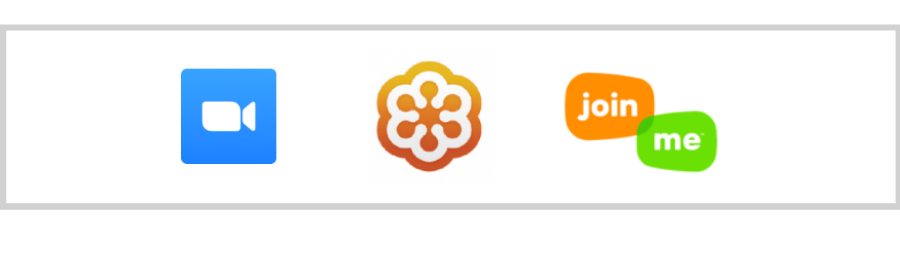
Limit the number of daily meetings
Do you only want to meet 3 people per day? No problem! Calendly gives you the ability to cap the number of people that can book a slot on your calendar in a single day.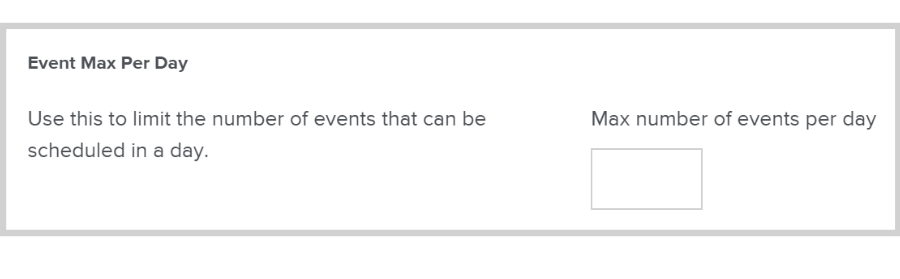
Set a minimum scheduling notice
Calendly lets you set a minimum scheduling notice to make sure that you don’t get any last-minute bookings.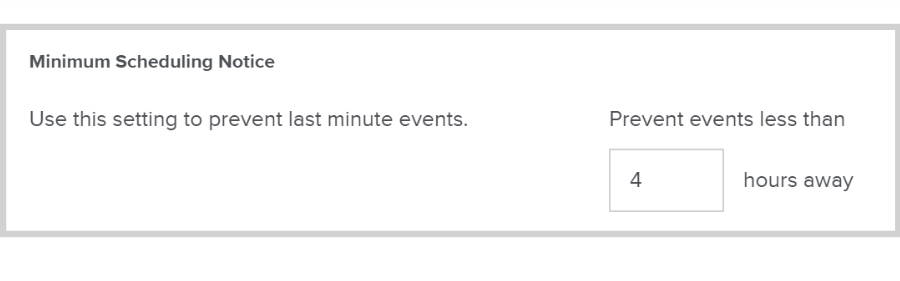 Already seeing all the ways Calendly can make scheduling easier for your organization? Read on to learn how to get yourselves signed up!
How to Get Started with Calendly
Step 1: Sign up at Calendly.com
Just enter your email address and click the Sign Up button.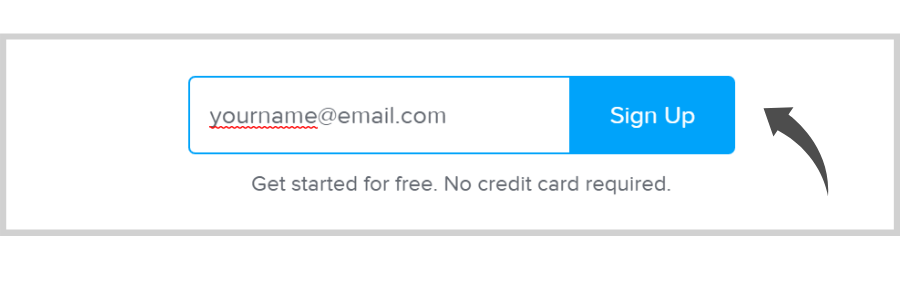
You’ll be prompted to sign up using an existing Gmail account to automatically connect your calendar.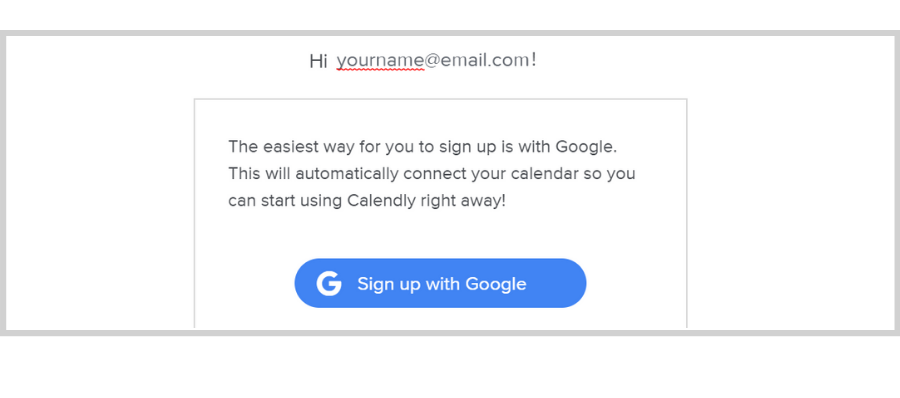
But you can also create a new account if you want to.
If you prefer to use your existing Gmail account, click Sign up with Google.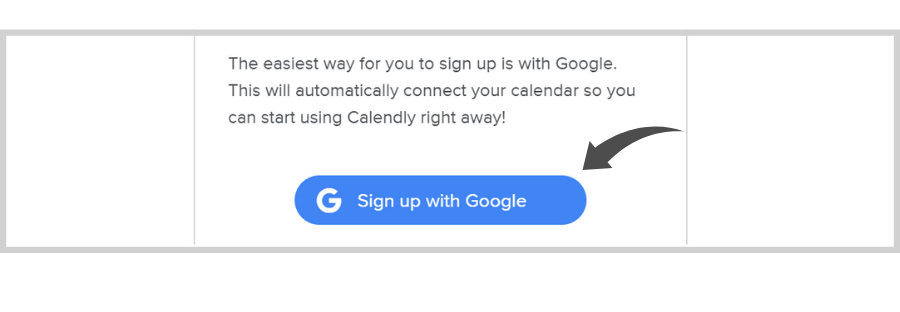
Enter your email address then click Next.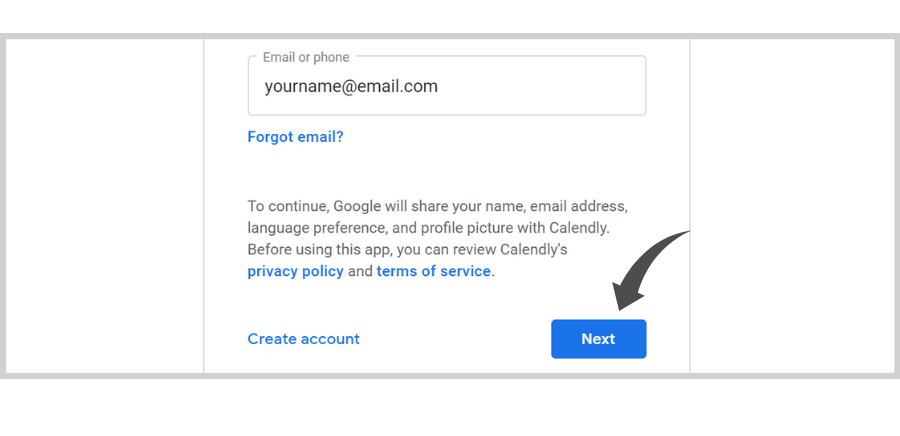
After that, enter your password then click Next.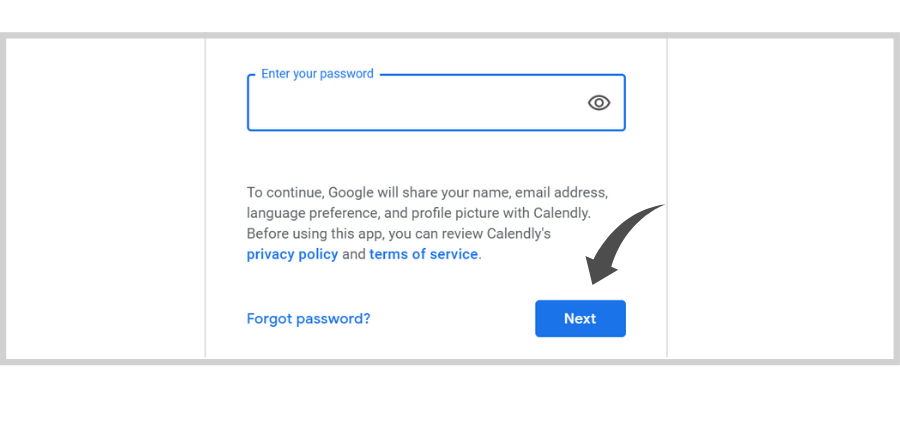
Click the Allow button to permit Calendly to access and make changes to your Google Calendar.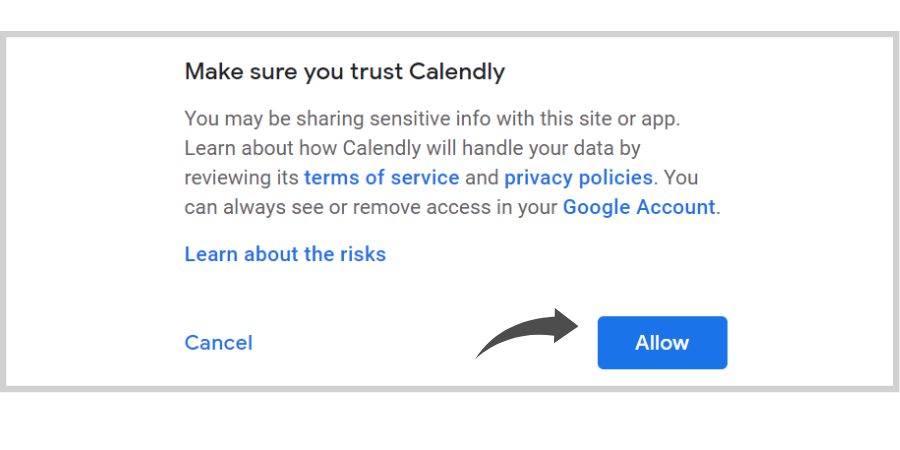
Step 2: Set up your Calendly account
First, you’ll be asked to create your Calendly URL.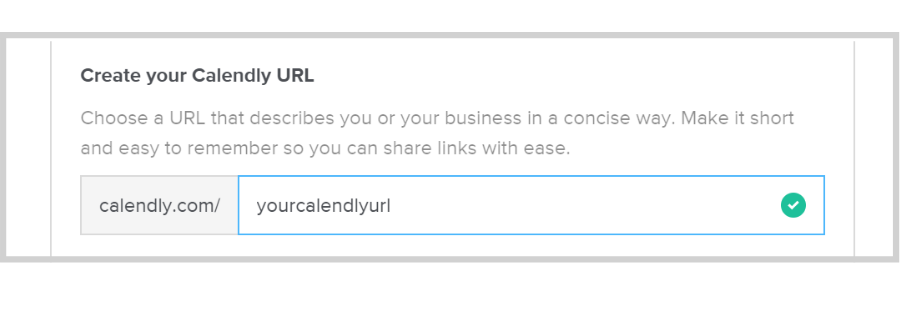
Under that, you’ll need to select the time zone that applies to your location and click Continue.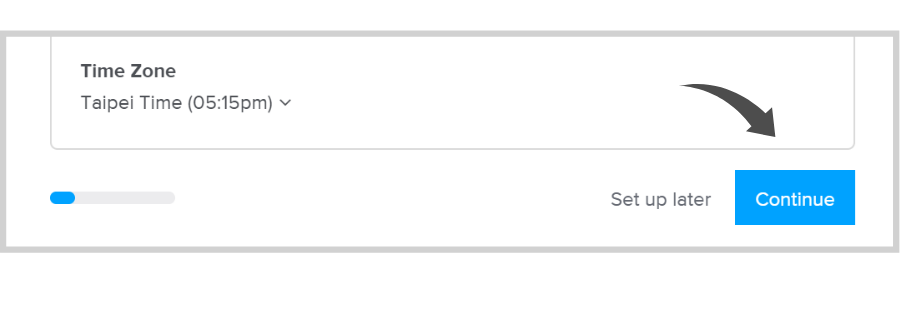
After connecting your Google Calendar, Calendly will now be able to check for any schedule conflicts and add events accordingly.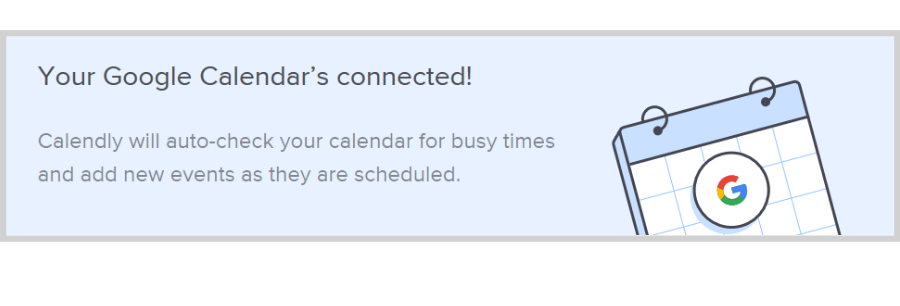
Confirm by clicking the Continue button at the bottom.
Step 3: Set your availability
Specify the hours and days when you’re normally available to accept meetings.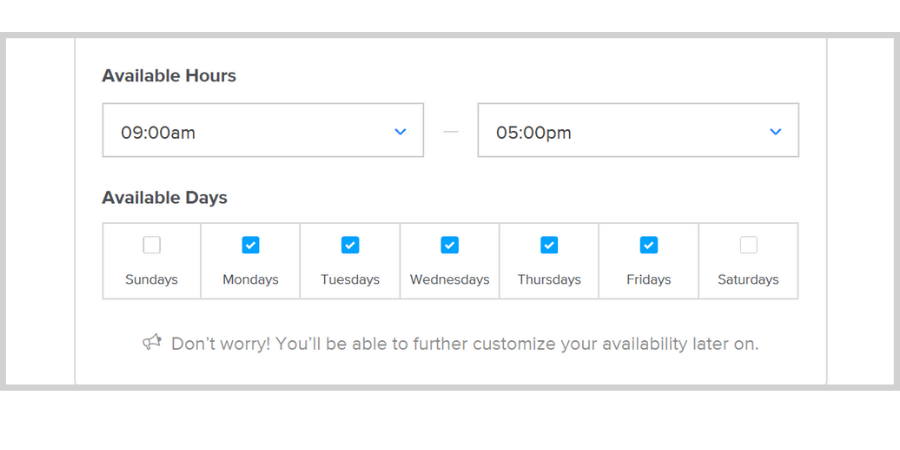
Then click Continue.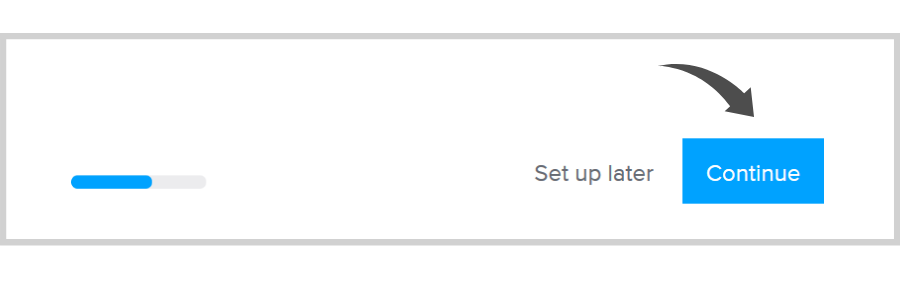
Step 4: Specify your day-to-day role
This is one way for Calendly to understand the purpose of your meetings and provide you with the support that you need. 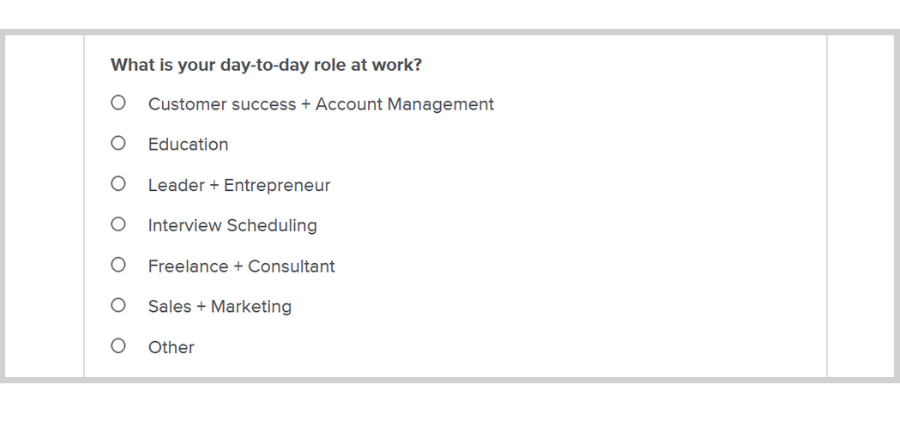
After checking one of the boxes, click Finish and you’re all set!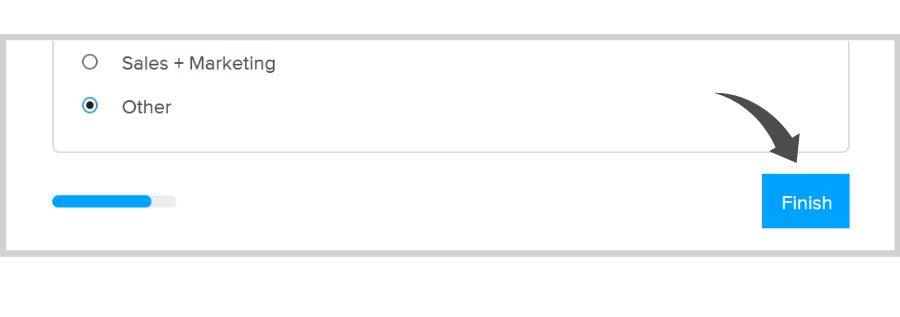
How Do People Book Slots on Your Calendar?
Once you’ve set up your Calendly account, you’ll be able to add a link to your calendar on your website or in emails. People will simply click the link, view available times in your calendar, and book a slot.
Here’s how it works:
First, you select a meeting.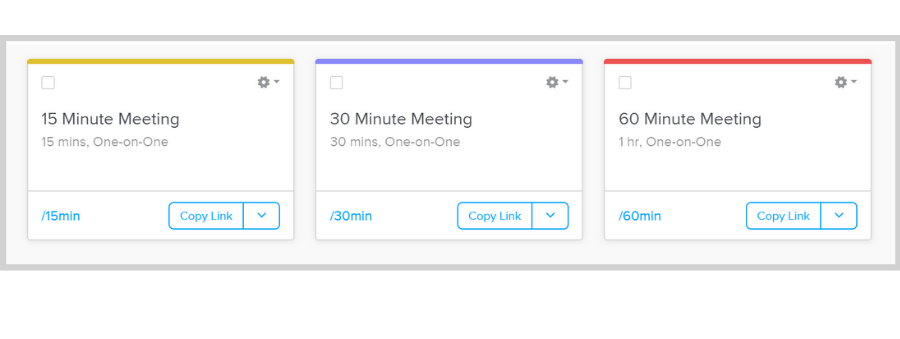
You can customize them as one-on-one or group meetings.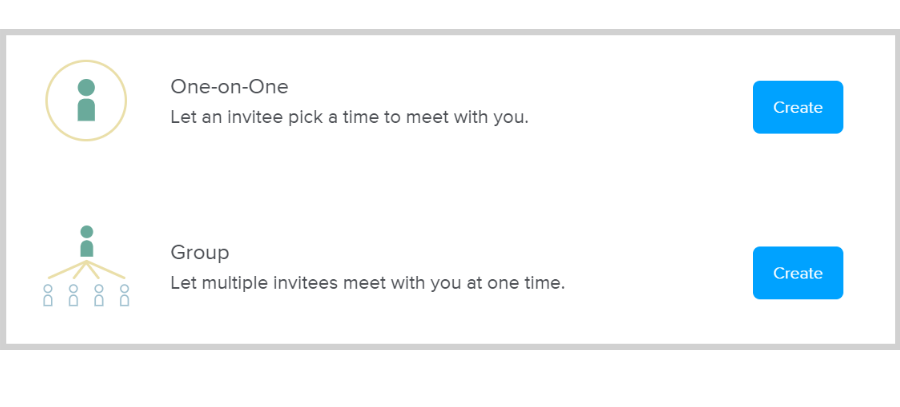
And decide how long you want that meeting to be.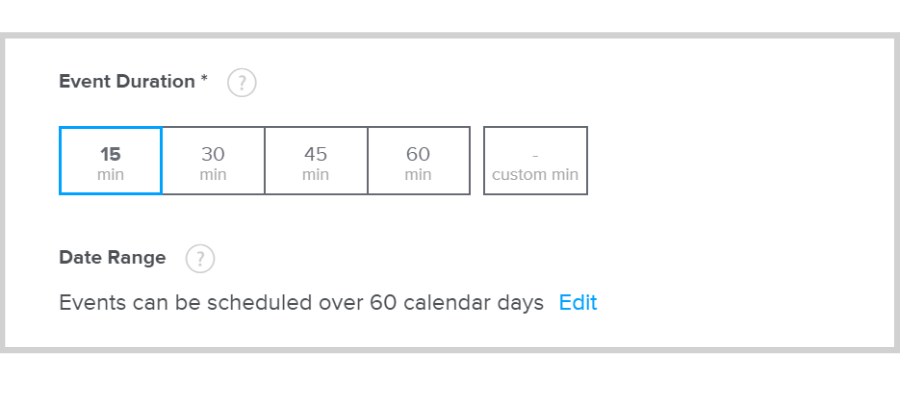
After that, copy a single-use link or visually embed your selected meeting on your website or in an email.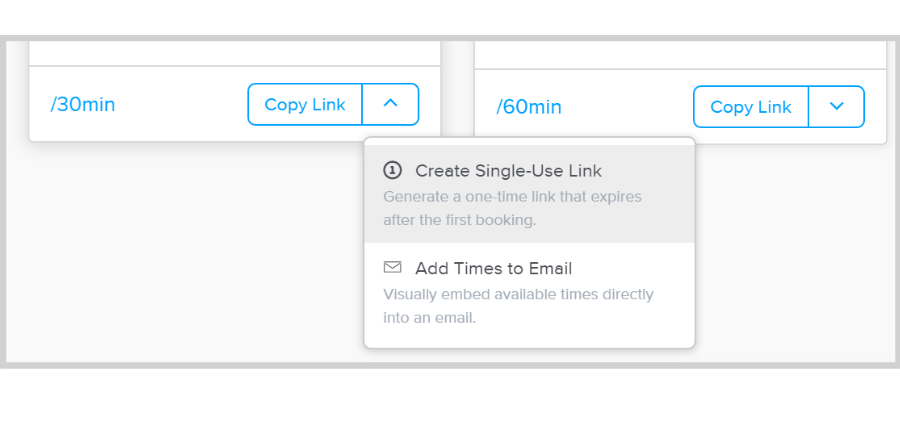
Single-Use Links
With single-use links, people simply click on the link…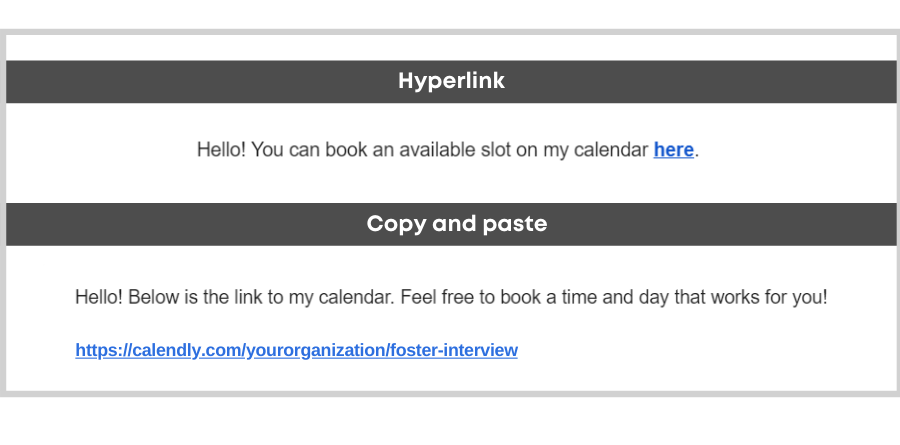
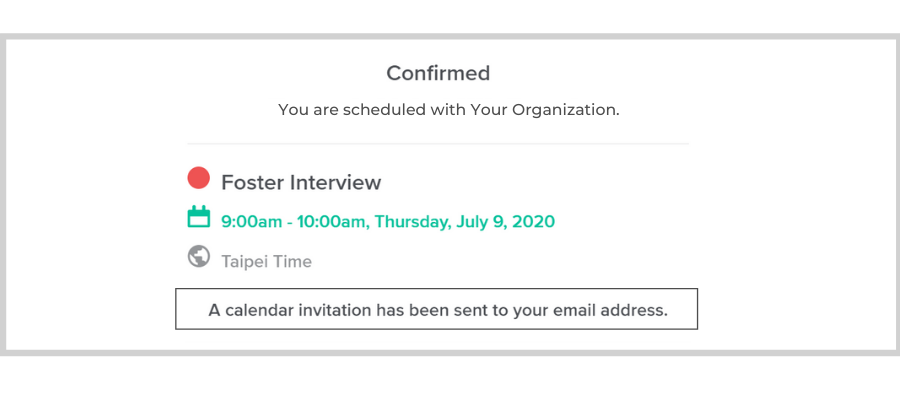
Pick a schedule that works for them…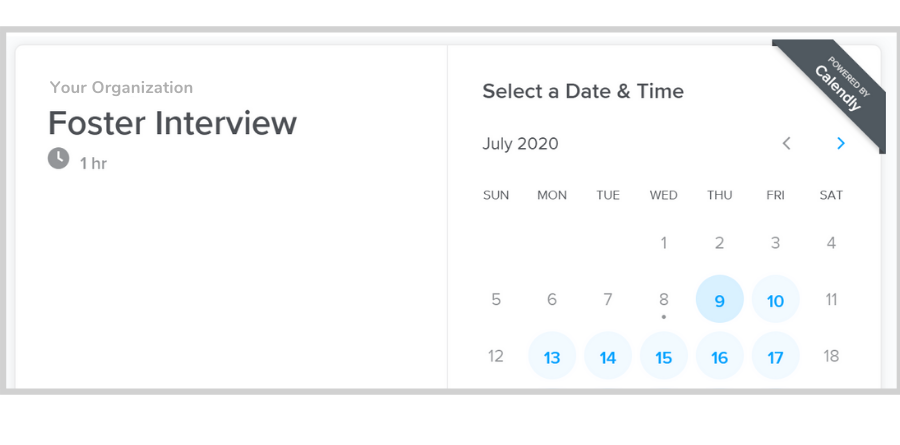
Then click the Confirm button.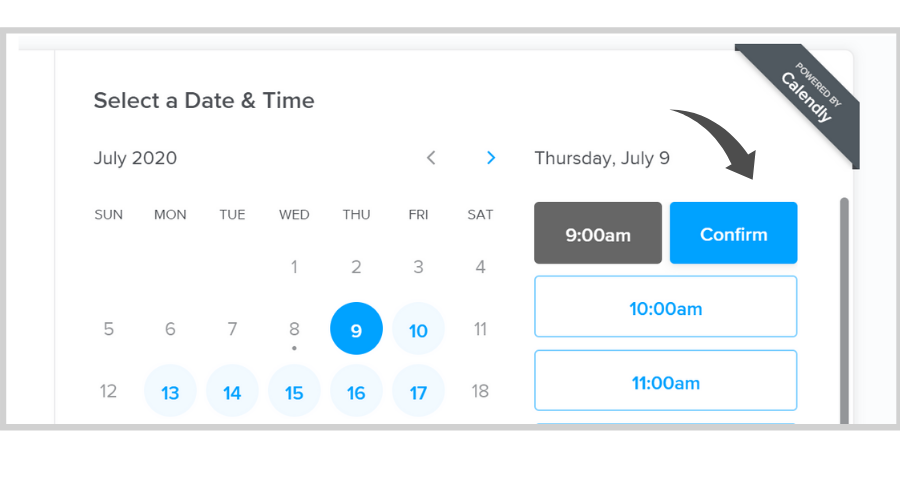
Know that you can actually customize how you want the link to appear.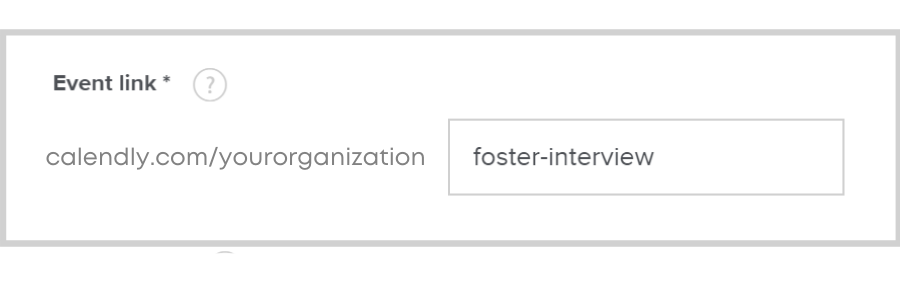
Visually Embed Available Times
If you choose to visually embed your available times in an email, recipients will just click a specified time.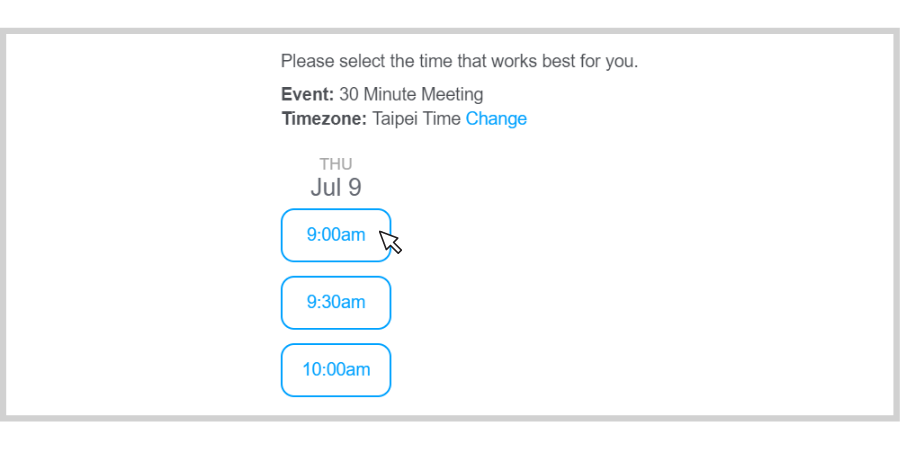
Then, they’ll be redirected to a page where they’ll provide their name and email address and add guests when needed.
After that, they just click Schedule Event.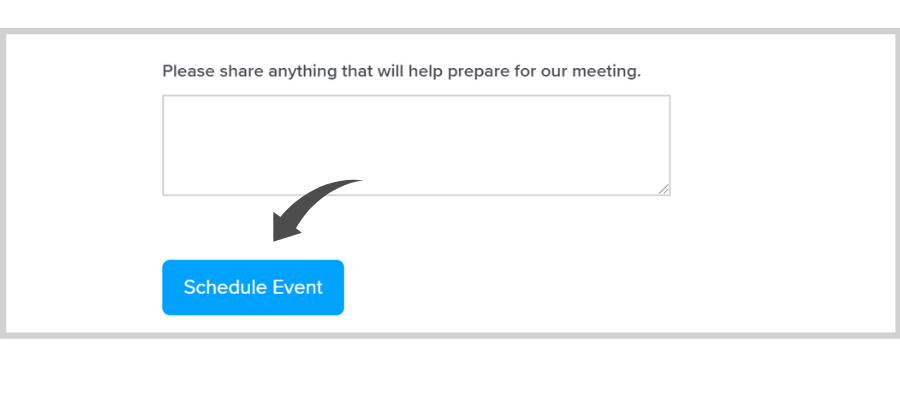
And an invitation will automatically be sent to their email as well as yours.